 Pin it
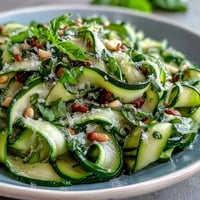
 The first time I tried fermenting my own hot sauce, the kitchen filled with a sharp, almost fizzy aroma that hinted at what was happening inside the jar. Curious, I peered in each day, marveling at the tiny bubbles racing upward and the deepening color of the peppers. Waiting a whole week felt like an eternity, but watching that transformation made it strangely rewarding. When I finally blended the mixture, my windows fogged up from the spice, and my excitement turned into laughter as I tasted something truly electric. This sauce became one of those experiments I found myself repeating—part science project, part daily ritual.
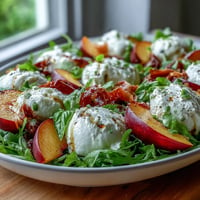
One chilly evening, I decided to make a batch with a friend who claimed she couldn't handle spice. We joked as we sliced peppers, and she cautiously tapped her pinky into the mixture after the first blend. Her surprised grin when she tasted the gentle, tangy heat was priceless—suddenly, even the cautious ones wanted a drizzle on their eggs. That low-key night turned into a celebration of culinary bravery, and now she asks for a bottle every year.
Ingredients
- Fresh red chili peppers (300 g): These are the backbone of your sauce—choose a mix for complexity, and always wear gloves to avoid spicy fingers all night.
- Red bell pepper (1 small): Adds subtle sweetness and bumps up the volume without overpowering heat.
- Garlic cloves (4): Essential for roundness and aroma; smashing them first releases deeper flavor.
- Shallot or onion (1 small or 1/2 small): Lends a mellow base—if you want a bite, use onion; for sweetness, shallot wins.
- Carrot (1 medium, optional): Offers body and a gentle, earthy sweetness, balancing out aggressive peppers.
- Filtered water (500 ml): A must to avoid chlorinated tap water slowing fermentation—go filtered for maximum fizz.
- Non-iodized salt (15 g): Sea or kosher is safest since iodine can mess with fermentation vibes.
- Apple cider vinegar or white vinegar (2 tbsp): Brings brightness and helps the sauce last longer—apple cider gives a fruitier edge.
Tired of Takeout? 🥡
Get 10 meals you can make faster than delivery arrives. Seriously.
One email. No spam. Unsubscribe anytime.
Instructions
- Mix the brine:
- Stir the salt into the filtered water until completely dissolved—the water should taste pleasantly salty, like a light broth.
- Chop your veggies:
- Roughly slice all peppers, carrot, garlic, and shallot or onion; don’t stress about size—just get them into manageable chunks.
- Pack the jar:
- Layer everything snugly into your clean glass jar, letting colors mingle for a kitchen mosaic effect.
- Add the brine:
- Pour the salty water over the veggies until they’re all beneath the surface, then place a fermentation weight or brine-filled bag to keep them down.
- Let it ferment:
- Loosely cover the jar or set up your airlock and leave it somewhere cool and dark; check on it every day—the slow bubbles are a good sign.
- Blend it up:
- After a week, dump jar contents (liquid and all) into a blender, add vinegar, and process until smooth; open the lid carefully—the aroma is powerful.
- Strain or not:
- For a silky sauce, press through a sieve; or savor the rustic bits if you prefer texture.
- Store and enjoy:
- Transfer the sauce to a sterilized bottle or jar, then keep it chilled so the flavors keep evolving over the next few months.
 Pin it
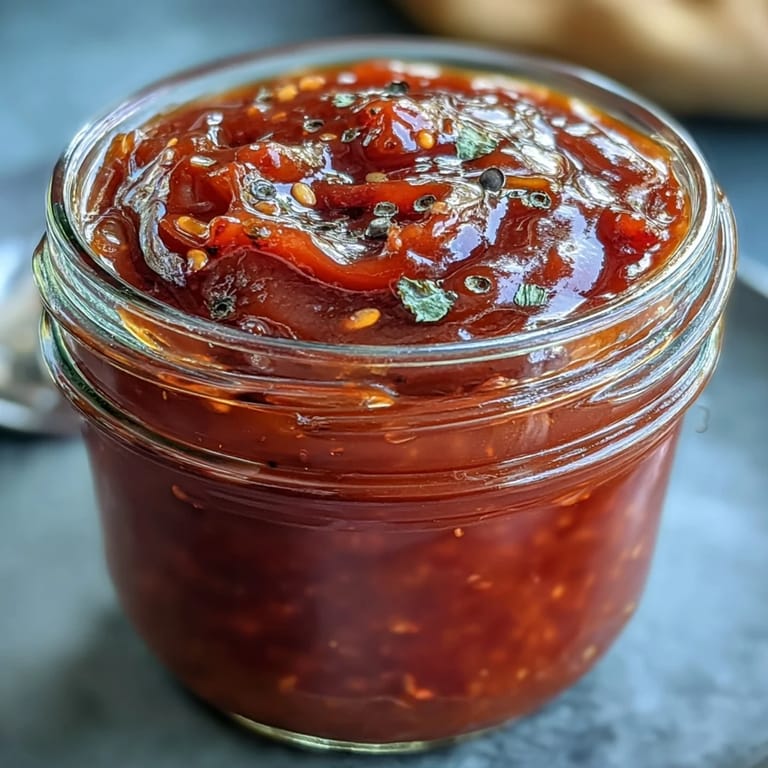
 There was a day I brought this to a cookout, hoping someone would try it on grilled corn. By the end of the night, the bottle was passed between friends, each daring the next to up the ante, and everyone left laughing with tingling lips. It felt like sharing a small but mighty bit of kitchen alchemy.
How to Play With Heat Levels
Choosing your peppers is where the magic happens—I've tossed in everything from sweet bells to a rogue habanero or two when I wanted to test my spice boundaries. Tasting a little bit straight from the blender is the best way to gauge if you want more fire, or need to mellow it with extra carrot or bell pepper. Once, I played it too safe and ended up adding a handful of extra chilies halfway through blending; sometimes bold moves pay off.
Getting the Texture Just Right
I used to always strain my sauce, but one time I left it unfiltered out of pure impatience—the surprise was a velvety, slightly pulpy hot sauce that clung perfectly to everything. If you do prefer a thinner pour, passing the mix through a sieve is the way to go, but don't toss the solids; they make a mean sandwich spread.
Storing and Sharing for Maximum Flavor
This hot sauce only grows richer in the fridge. Keeping it in a glass bottle preserves its bright color and zingy aroma, and sharing a jar makes for the kind of thank-you that lingers. If you’re gifting, throw a handwritten label on for that final touch—it always sparks a conversation.
- If you notice fizzing, don’t worry; it’s the fermentation magic at work.
- Keep the sauce away from sunlight to protect its vivid hue.
- Shake the bottle before each use for the perfect splash every time.
 Pin it
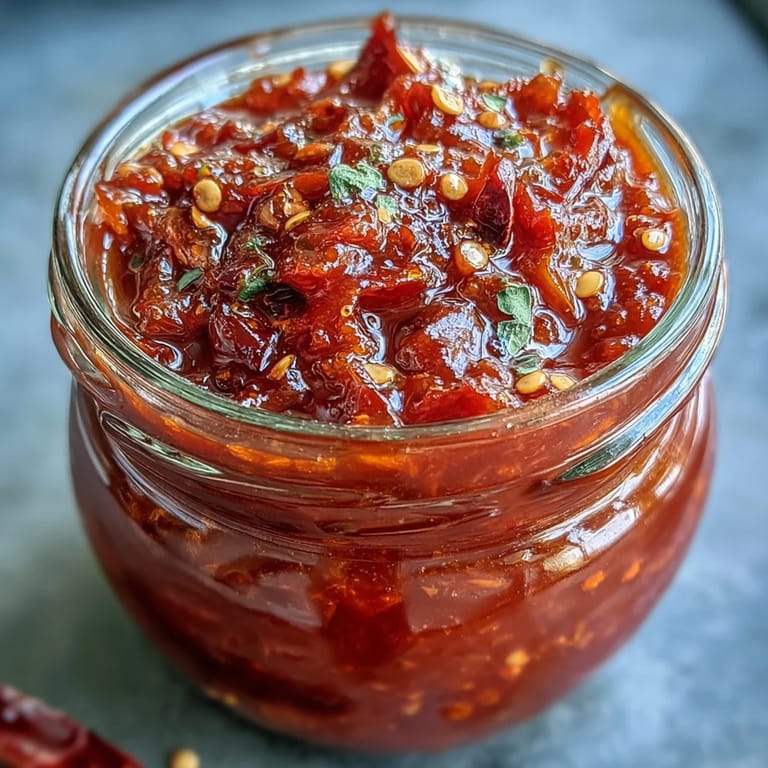
 Setting a jar of homemade hot sauce on the table invites curiosity and boldness—each batch is a little different, but always unforgettable. Here’s to finding new heat and flavor with every spoonful.
Recipe FAQs
- → How do I know the ferment is progressing correctly?
Bubbles, a mild tang and gentle foam on the surface are normal signs. Check daily to keep solids submerged and skim any surface scum; avoid strong rotten odors. A pleasantly sour, savory aroma indicates a healthy lacto-fermentation.
- → Is the 15 g salt in 500 ml water critical?
That concentration (about 1 tbsp in 2 cups) creates a safe environment for lactic acid bacteria while discouraging bad microbes. Small adjustments are possible, but large reductions speed spoilage and over-salting will inhibit fermentation.
- → How can I adjust the heat level?
Pick milder chiles like Fresno or jalapeño for gentler heat, or add habanero/Thai chiles for more kick. Removing seeds and membranes reduces heat; leaving them in intensifies it. Blend in some bell pepper or carrot to mellow spice.
- → Can I swap vinegars or other flavorings?
Yes. Apple cider vinegar adds fruitiness; rice vinegar gives a milder tang. Toasted spices (coriander, black peppercorns) or whole seeds in the brine add complexity—introduce them during fermentation for deeper note development.
- → Should I strain the sauce for a smooth texture?
Straining through a fine-mesh sieve yields a velvety pour; skipping the sieve keeps more body and rustic texture. Use extra brine or vinegar to thin if needed before or after straining.
- → How long will the finished sauce keep?
Refrigerated, the blended and bottled sauce keeps up to about three months and continues to mellow. Flavor will evolve over time; if you notice off smells, unusual colors, or persistent fuzzy mold, discard the batch.