 Pin it
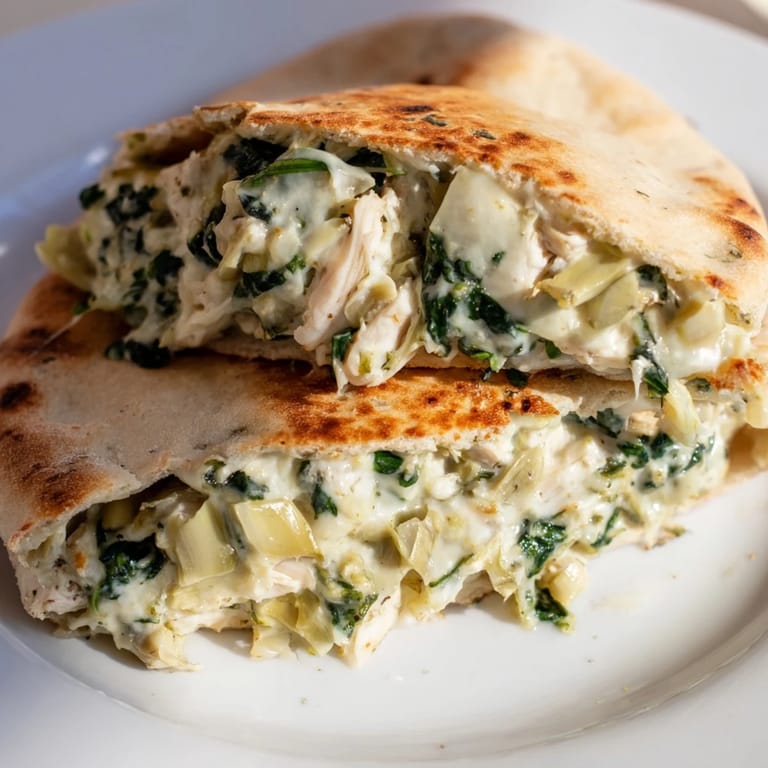
 The first time I made these stuffed pitas, my kitchen smelled like a Mediterranean restaurant had moved in. I was trying to use up leftover rotisserie chicken and a random can of artichokes, and somehow this combination ended up being the kind of dinner that makes people pause between bites.
My sister-in-law walked in mid-prep and literally asked if I was making spinach dip. When I explained it was actually dinner, she looked skeptical, but then ate two stuffed pitas straight off the baking sheet. Now she requests them every time she visits.
Ingredients
- 2 cups cooked chicken breast: Rotisserie chicken works perfectly here and saves so much time, plus it adds that seasoned flavor
- 1 cup canned artichoke hearts: Chop them pretty small so they distribute evenly throughout every bite
- 1 cup fresh spinach: Fresh spinach wilts nicely in the oven, frozen would make the filling too watery
- 1/2 cup Greek yogurt: This keeps the filling creamy without being too heavy like traditional cream cheese versions
- 1/4 cup light mayonnaise: Just enough to bind everything together with that familiar spinach dip flavor
- 1/2 cup shredded mozzarella cheese: The cheese that makes everything better and helps the filling stay put inside the pita
- 1/4 cup grated Parmesan cheese: Adds that salty, nutty depth that makes spinach artichoke anything so addictive
- 1 clove garlic: Minced fresh garlic is non-negotiable here, powder just does not compare
- 1/2 teaspoon onion powder: Rounds out the savory notes without adding any crunch
- 1/2 teaspoon dried oregano: Gives it that Mediterranean flair we all love
- 1/4 teaspoon crushed red pepper flakes: Totally optional, but I love the subtle warmth it provides
- Salt and black pepper: Taste your filling before stuffing the pitas to get the seasoning right
- 4 large pita breads: Whole wheat adds a nice nutty flavor, but regular works perfectly too
- Fresh parsley: A little pop of color and freshness on top makes these feel fancy
- Lemon wedges: A squeeze of bright acid cuts through all that creamy richness beautifully
Tired of Takeout? 🥡
Get 10 meals you can make faster than delivery arrives. Seriously.
One email. No spam. Unsubscribe anytime.
Instructions
- Preheat and prep:
- Get your oven to 375°F and line a baking sheet with parchment paper for easier cleanup later.
- Mix the filling:
- Combine everything except the pitas and garnish in a large bowl until the chicken is evenly coated in that creamy, cheesy mixture.
- Prep the pitas:
- Cut each pita in half to make pockets, being careful not to tear all the way through.
- Stuff generously:
- Spoon that spinach artichoke chicken mixture into each pita half, really packing it in there.
- Arrange and bake:
- Lay the stuffed pitas on your prepared baking sheet and bake for 15 to 20 minutes until the cheese is melted and everything is hot throughout.
- Finish and serve:
- Let them cool for just a couple minutes, then hit them with fresh parsley and serve with lemon wedges on the side.
 Pin it
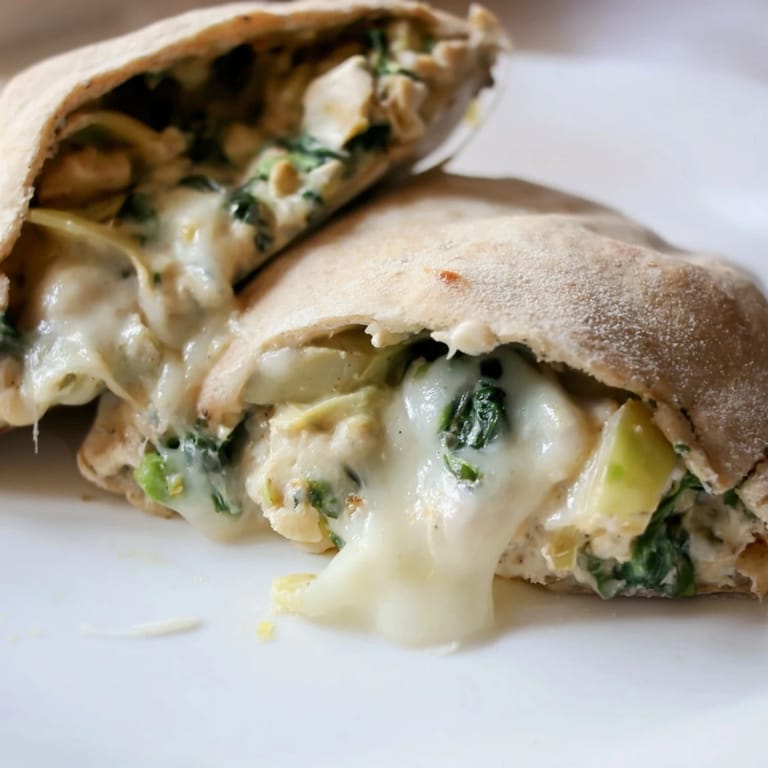
 These have become my go-to when friends come over for casual dinners because everyone can customize their own, and they feel a little special without being fussy.
Make Ahead Magic
The filling can be mixed up to two days in advance and stored in the fridge. Just stuff and bake when you are ready to eat, which makes weeknight dinners feel much more manageable.
Perfect Pairings
A crisp green salad with a bright vinaigrette cuts through the richness perfectly. I also love serving these alongside roasted vegetables or a simple tomato cucumber salad for a complete Mediterranean-inspired meal.
Mix It Up
Sometimes I add sun-dried tomatoes or roasted red peppers to the filling for extra color and sweetness. You could also swap the chicken for cooked chickpeas to make a vegetarian version that is just as satisfying.
- Try whole wheat pitas for extra fiber and a nuttier flavor
- A little extra mozzarella on top never hurt anyone
- These freeze beautifully before baking, just add a few extra minutes to the cook time
 Pin it
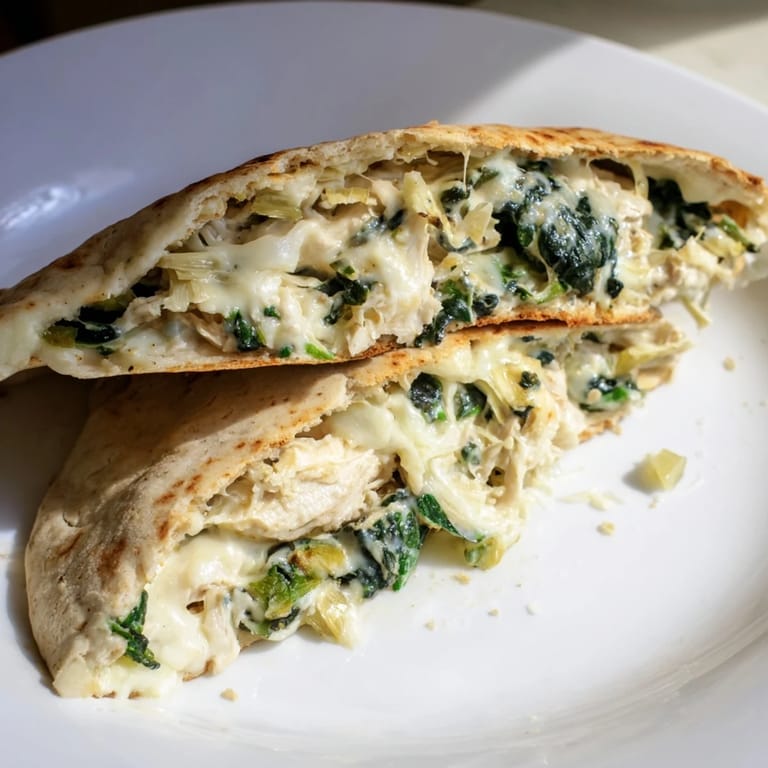
 Hope these become a regular rotation in your kitchen like they have in mine.
Recipe FAQs
- → Can I use frozen spinach instead of fresh?
Yes, frozen spinach works well. Thaw and squeeze out excess moisture thoroughly before mixing into the filling to prevent the pita from becoming soggy.
- → What can I substitute for Greek yogurt?
Cream cheese, sour cream, or ricotta are excellent alternatives. Cream cheese will create a richer, denser filling, while sour cream offers similar tanginess to Greek yogurt.
- → How do I store and reheat leftovers?
Store stuffed pitas in an airtight container in the refrigerator for up to 3 days. Reheat in a 350°F oven for 10-12 minutes until warmed through, or microwave for 1-2 minutes per serving.
- → Can I make the filling ahead of time?
Absolutely. Prepare the filling up to 24 hours in advance and store it separately from the pita bread. Stuff and bake just before serving for the best texture and melted cheese.
- → What sides pair well with this dish?
A crisp green salad with lemon vinaigrette complements the rich filling perfectly. Roasted vegetables, hummus with pita chips, or a light soup are also great accompaniments.
- → Is this dish suitable for meal prep?
Yes, you can prepare the filling and store it separately for up to 3 days. Stuff and bake fresh when ready to eat, or bake ahead and reheat gently to maintain quality.