 Pin it
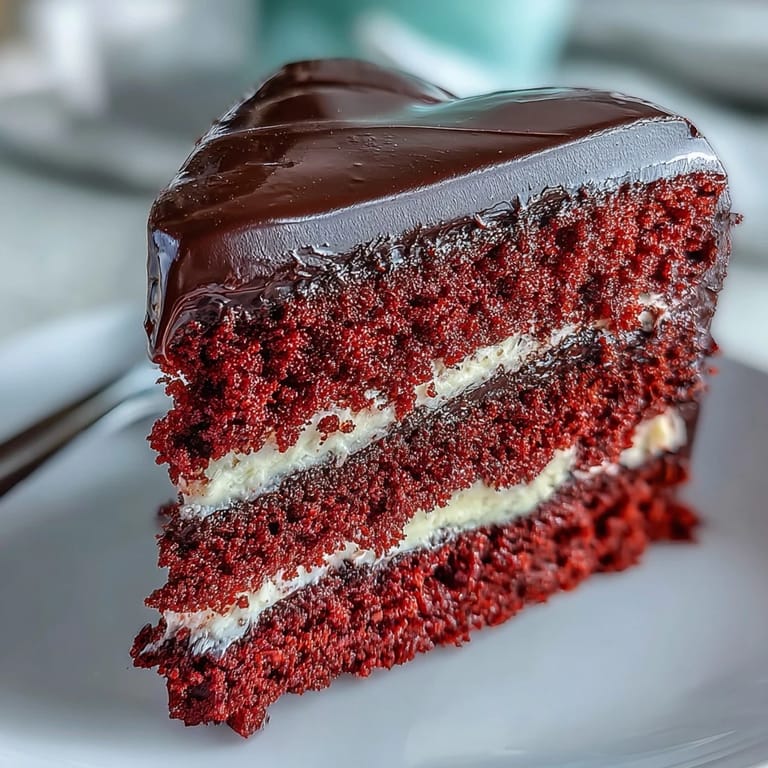
 My nephew turned five and asked for a cake with Betty Boop on top, and I panicked because I can't draw. Then I remembered chocolate transfers, and suddenly this wild idea formed: a towering red velvet heart topped with a crisp chocolate silhouette. The kitchen smelled like cocoa and butter for hours. When I peeled that chocolate Betty off the parchment, it came out perfect, and I felt like a magician.
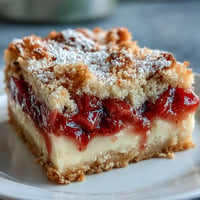
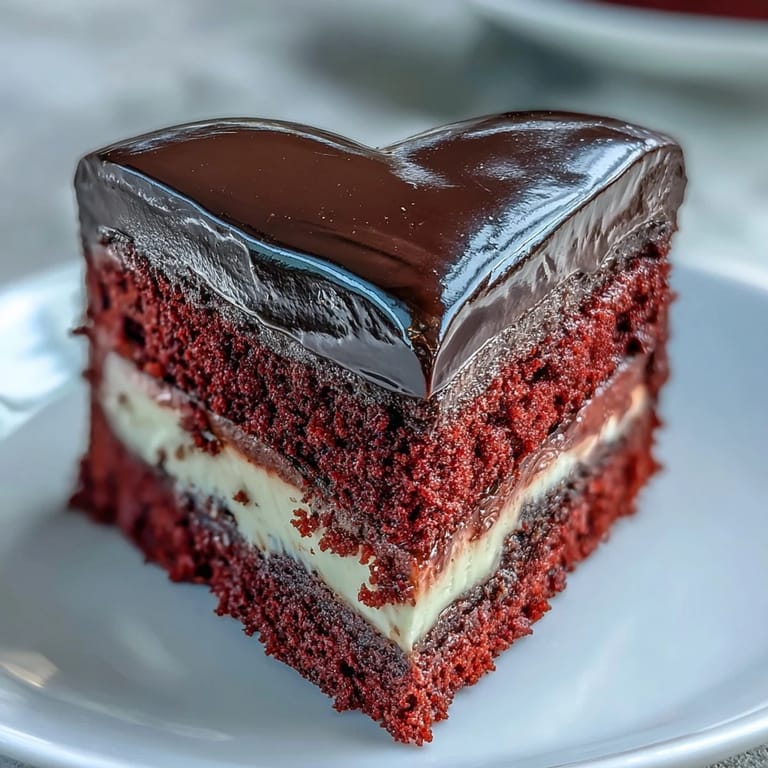
I made this for a friend's birthday brunch, and everyone hovered around the table just staring at it before we cut in. The red crumb looked almost too vibrant to be real. One slice revealed fluffy layers and that tangy frosting, and suddenly forks were scraping plates. It became the cake people asked me to bring every year after that.
Ingredients
- Cake flour: This keeps the crumb tender and light, sifting it twice prevents any lumps and ensures an even rise.
- Natural unsweetened cocoa powder: Just a hint deepens the red color and adds a subtle chocolate undertone without overpowering the tangy flavor.
- Baking powder and baking soda: The combo gives lift, and the vinegar reaction with baking soda creates those airy pockets you want in every bite.
- Unsalted butter: Room temperature is key so it creams smoothly with the sugar and creates that fluffy base.
- Granulated sugar: Beaten with butter, it traps air and gives structure, making the cake rise tall and stay moist.
- Eggs: Also at room temp so they blend without deflating the batter, adding richness and binding everything together.
- Buttermilk: The acid tenderizes the crumb and adds tang, and it must be room temp or it will seize the butter.
- Red gel food coloring: Gel won't thin the batter like liquid does, and two tablespoons give that classic bold red without any weird aftertaste.
- Pure vanilla extract: Rounds out the flavors and makes the whole cake smell like a bakery.
- White vinegar: Reacts with baking soda for extra lift and enhances the red color, just a teaspoon does the trick.
- Cream cheese: The heart of the frosting, tangy and smooth, it must be soft or you'll have lumps no amount of beating will fix.
- Powdered sugar: Sifted so the frosting stays silky, and four cups make it sweet enough to balance the tang.
- Dark chocolate or candy melts: Melted gently, this forms the crisp silhouette that contrasts beautifully with the soft frosting.
Tired of Takeout? 🥡
Get 10 meals you can make faster than delivery arrives. Seriously.
One email. No spam. Unsubscribe anytime.
Instructions
- Prep the pans:
- Preheat your oven to 350°F and grease those heart pans well, then line the bottoms with parchment so the cakes release without tearing. This step saves heartbreak later.
- Mix the dry ingredients:
- Whisk together the cake flour, cocoa, baking powder, baking soda, and salt in a medium bowl. Set it aside and feel good knowing the hard part is almost done.
- Cream butter and sugar:
- Beat the butter for a minute until it's creamy, then add sugar gradually and beat for 2 to 3 minutes until it's pale and fluffy. This traps air and makes the cake rise beautifully.
- Add eggs:
- Drop in one egg at a time on low speed, mixing just until blended after each. Scrape the bowl sides so nothing hides in the corners.
- Color the batter:
- Stir in the red gel, vanilla, and vinegar until the batter turns a bold, even red. It should look almost too bright, but trust it.
- Alternate dry and wet:
- With the mixer on low, add a third of the dry mix, then half the buttermilk, then another third of dry, the rest of the buttermilk, and finish with the last dry ingredients. Mix just until you can't see streaks, overmixing makes a tough cake.
- Activate the baking soda:
- In a small cup, combine a teaspoon of vinegar with the baking soda and watch it foam. Fold it gently into the batter, this creates that airy crumb everyone loves.
- Bake the cakes:
- Divide the batter evenly between the pans and smooth the tops with an offset spatula. Bake for 25 to 30 minutes, until a toothpick comes out clean and the tops spring back when touched.
- Cool completely:
- Let the cakes cool in the pans for 10 minutes, then run a knife around the edges and invert onto wire racks. Peel off the parchment and let them cool fully before you even think about frosting.
- Make the frosting:
- Beat the cream cheese and butter together for 2 minutes until smooth and creamy. Gradually add powdered sugar and a pinch of salt, then the vanilla, beating on low until fluffy and spreadable.
- Assemble and crumb coat:
- Level the cake tops if domed, then place one layer on a board and spread about three-quarters cup of frosting on top. Add the second layer, press gently, and chill for 15 minutes to firm up the filling.
- Final frosting:
- Apply a thin crumb coat over the whole cake to seal in any loose crumbs. Chill for 10 minutes, then add a final smooth or swirled layer of frosting with your offset spatula.
- Prepare the chocolate silhouette:
- Place your Betty Boop stencil under a sheet of parchment, then pipe or brush melted dark chocolate over the outline. Let it set at room temp or in the fridge for 10 minutes until firm.
- Add the silhouette:
- Carefully peel the chocolate off the parchment and lift it onto the center of the frosted cake. Press gently so it sticks to the frosting without cracking.
- Final touches and chill:
- Decorate the edges with rosettes, edible glitter, or red sugar pearls if you like. Chill the whole cake for 30 minutes to set the frosting, then slice with a warm, clean knife for neat hearts.
 Pin it
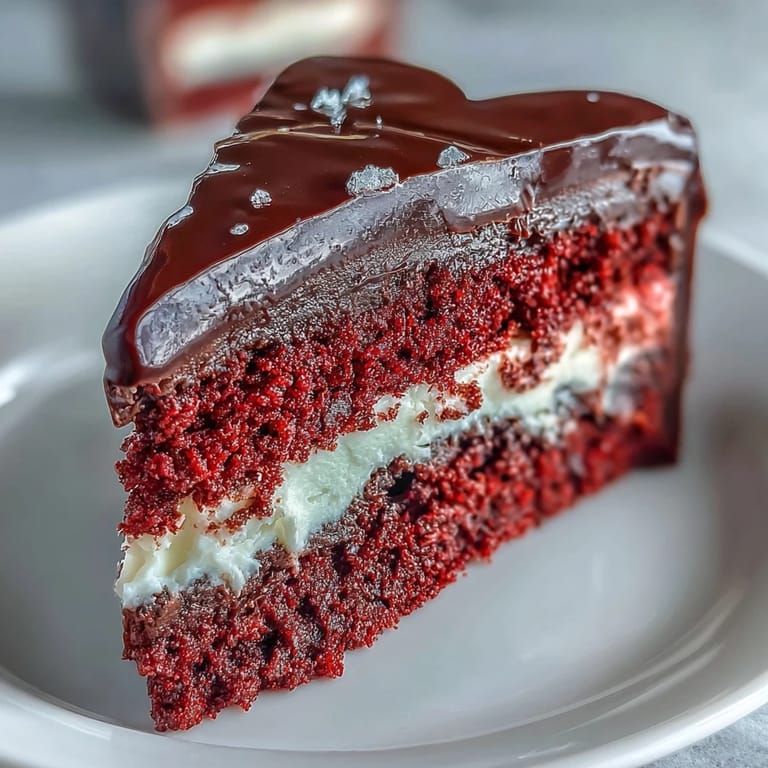
 The first time I served this cake, a little girl at the party touched the chocolate silhouette with one finger, then looked up and whispered that it was magic. That moment reminded me why baking is worth the mess and the wait. It's not just cake, it's a memory someone will carry for years.
Getting the Red Just Right
I used to be timid with food coloring and ended up with pale pink cakes that looked apologetic. Two tablespoons of gel seems like a lot, but it's what gives you that bold, unapologetic red that photographs beautifully and tastes just as good. Don't skimp, and don't substitute with liquid unless you want to cry over a runny batter. The cocoa powder also helps deepen the color naturally, so even if you go a little light on the gel, the cake won't look washed out.
Working with Heart-Shaped Pans
Heart pans have that tricky point at the bottom, and batter loves to get stuck there. I learned to tap the filled pans on the counter a few times to release air bubbles, and it makes a huge difference in the final shape. Lining the bottom with parchment is non-negotiable, it peels right off and leaves a clean surface for frosting. If your hearts dome too much, just level them with a serrated knife, nobody will know and your layers will stack perfectly.
Making the Chocolate Silhouette
The first time I tried this, I piped the chocolate too thick and it looked clunky. A thin, even layer sets faster and peels off cleanly without cracking. If you don't have a steady hand, use a small offset spatula to spread melted chocolate over the stencil outline instead of piping. Dark chocolate gives a crisp snap and a slightly bitter contrast to the sweet frosting, but candy melts work too if you prefer a smoother melt.
- Let the chocolate set fully before peeling or it will smudge and stick to the parchment.
- If it cracks while peeling, pop it in the fridge for a minute to firm up more.
- Store extra silhouettes between sheets of parchment in the fridge for up to two weeks.
 Pin it
 This cake has become my go-to for celebrations that need a little whimsy and a lot of flavor. Every slice is a balance of soft, tangy, and crisp, and it never fails to make people smile.
Recipe FAQs
- → What makes this red velvet different from traditional versions?
This version uses cake flour instead of all-purpose flour for an exceptionally tender crumb, and the addition of natural cocoa powder creates that classic subtle chocolate undertone. The red gel coloring provides vibrant hue without thinning the batter.
- → Can I make the Betty Boop silhouette ahead of time?
Absolutely. Pipe or brush the melted dark chocolate onto parchment paper using your stencil, then let set completely. Store the chocolate silhouette in an airtight container between sheets of parchment paper at room temperature for up to 2 weeks.
- → Why is vinegar added to the batter?
The white vinegar activates the baking soda, creating a gentle chemical reaction that produces extra lift and a lighter texture. It also enhances the red coloring's brightness and adds a subtle tang that complements the cream cheese frosting.
- → How should I store leftovers?
Keep the cake covered in the refrigerator for up to 4 days. The cream cheese frosting requires cool temperatures to maintain its structure. Bring slices to room temperature for 20 minutes before serving for the best texture and flavor.
- → Can I use regular cake pans instead of heart-shaped ones?
Yes, two 9-inch round cake pans work perfectly. The baking time remains the same. For a heart shape without special pans, cut a small triangle out of one side of each round layer and push the cut edges together to form a point.
- → What's the best way to get clean slices?
Run your knife under hot water, wipe dry, then slice. The warm blade cuts cleanly through the chocolate and frosting without dragging. Wipe the knife clean and reheat between slices for perfect presentation.