 Pin it
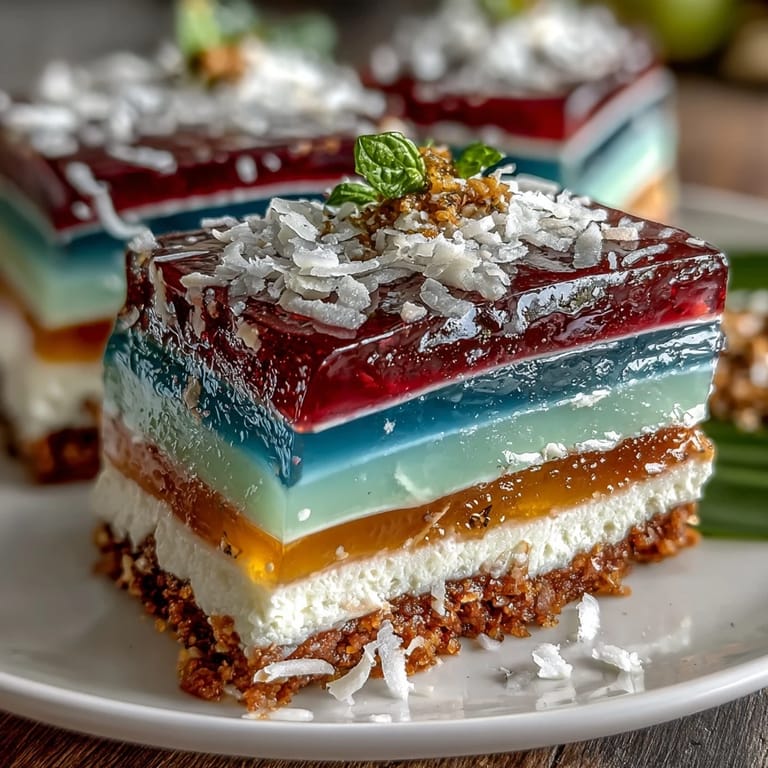
 The first time I stumbled upon agar-agar was in a small Asian market, surrounded by colorful packets promising all sorts of culinary miracles. Intrigued, I brought home a few, not entirely sure of how to use them, but determined to create something vibrant and whimsical. One hot summer’s afternoon, inspired by a craving for a cool dessert, I decided to dive into making a multi-layered jelly cake that would dance with colors and flavors. The kitchen soon filled with laughter as I experimented, turning my countertop into a canvas of fruity hues and creamy delights. Friends gathered around, and together we created a dish that was equal parts playful and delicious, the kind of treat that invites everyone to step into summer joy.
As I finished layering the vibrant jellies, I could hear the excitement in my friends' voices as they envisioned how this confection would steal the show at our next get-together. It wasn’t just a dessert; it was a creative collaboration that turned a hot day into an adventure filled with colorful delights. When we finally cut into the cake, the cheers that erupted filled my heart with warmth, transforming a simple treat into a shared experience we'll remember for years.
Ingredients
- 2 liters water: This is the base that gives life to our jellies, a blank canvas ready to be colorfully infused.
- 16 g agar-agar powder: Essential for creating the jelly’s unique texture, remember to stir thoroughly until completely dissolved.
- 400 g granulated sugar: Sweetness is key; adjust to your taste for a balanced flavor.
- 1/2 teaspoon vanilla extract: This little addition enhances the overall flavor, adding depth to the sweet layers.
- Gel food coloring: Use gel over liquid for stronger colors that gracefully stand out in each layer.
- 1/2 cup fruit juice per color: For a fun lift in flavor, this optional ingredient brightens the jellies beyond their vibrant appearance.
- 400 ml coconut milk: Full-fat brings that rich creaminess so essential for the topping layer.
- 4 g agar-agar powder: A smaller amount here ensures the coconut cream has the right set without overwhelming the dish.
- 40 g granulated sugar: Sweeten the cream layer to pair perfectly with the fruitiness of the jellies.
- Pinch of salt: Just a small dash elevates the flavors beautifully, grounding the sweetness.
Tired of Takeout? 🥡
Get 10 meals you can make faster than delivery arrives. Seriously.
One email. No spam. Unsubscribe anytime.
Instructions
- Prepare the Jelly Base:
- In a large saucepan, combine 2 liters of water with 16 g of agar-agar powder. Bring to a boil over medium heat, stirring constantly until it’s smooth and dissolved.
- Divide and Color Jelly:
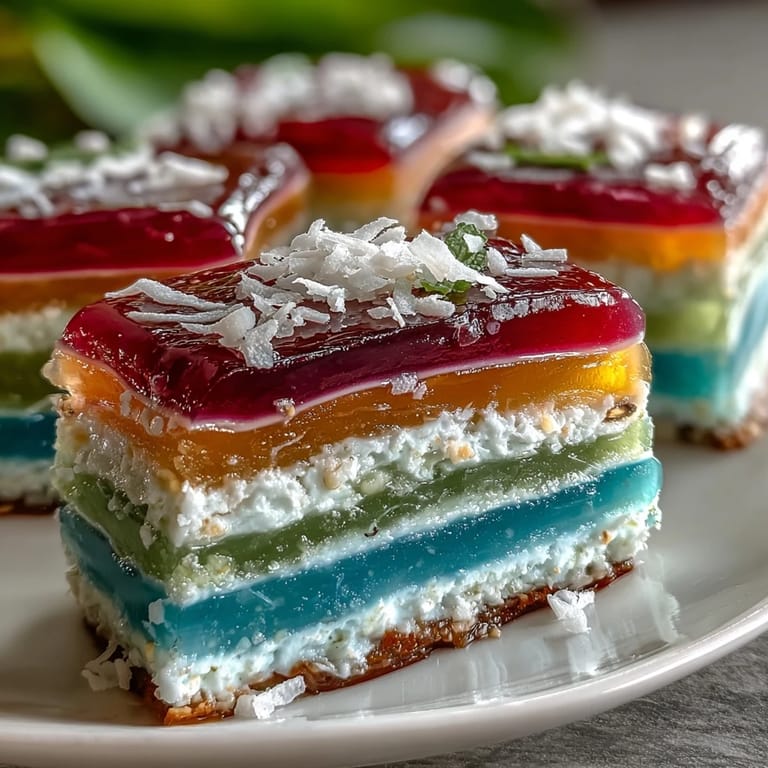
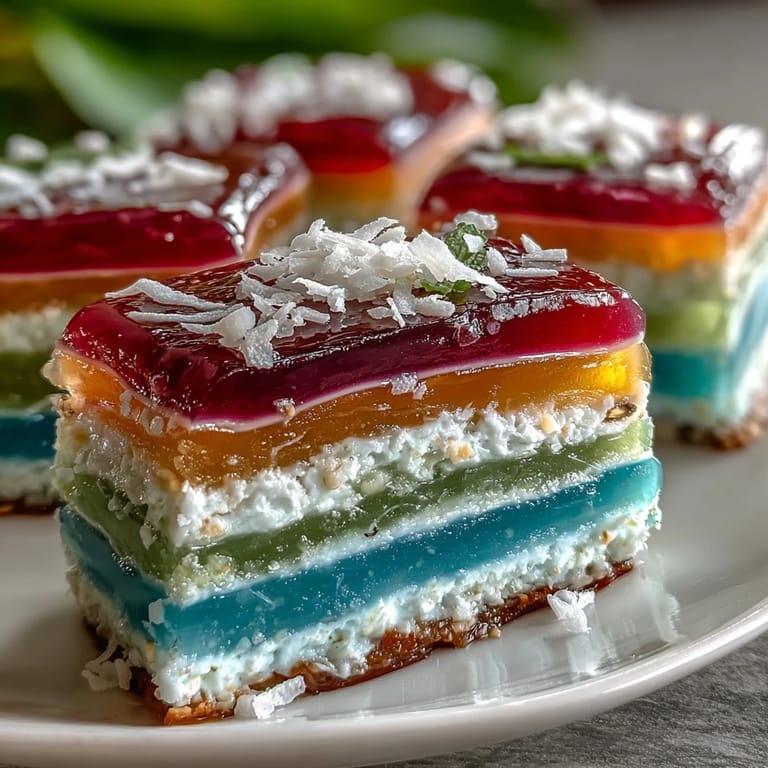
- Pour the hot agar-agar solution evenly into six bowls. Mix in different food coloring to each bowl, creating your rainbow colors.
- Assemble Layers:
- Pour the first colored layer into a rectangular cake pan and refrigerate for about 10-12 minutes until it’s just set. Repeat the process by gently layering the next color and chilling between each layer.
- Prepare the Coconut Cream:
- In another clean saucepan, blend 400 ml coconut milk with 4 g of agar-agar powder and 40 g of sugar, stirring until boiling. Allow it to simmer for 2-3 minutes for the agar to dissolve well.
- Top with Coconut Cream:
- Let the coconut cream cool for a few minutes, then pour it carefully over your set jelly layers. Chill in the refrigerator for at least 2 hours to allow it to set completely.
- Serve:
- To serve, run a thin knife around the edges to loosen before inverting onto a plate. Slice into portions and enjoy chilled.
 Pin it
  Pin it
 Every time I make this rainbow jelly cake, it becomes something more than just a dessert; it evolves into a centerpiece of joy and laughter around the table. The combination of colors, flavors, and the fun of making it together brings everyone closer.
Layering the Joy
Layering this cake is akin to wrapping a gift; each layer reveals a new surprise that adds to the overall experience. The joy that erupts once the final piece is served is like Christmas morning, with everyone anticipating their turn to try the next vibrant slice.
A Dish for Celebration
This rainbow jelly is perfect for summer celebrations or any occasion. Its lightness and refreshing nature make it a wonderful palate cleanser after a hearty meal.
Small Tips for Big Impact
Here are a few insights from my kitchen adventures with this dish:
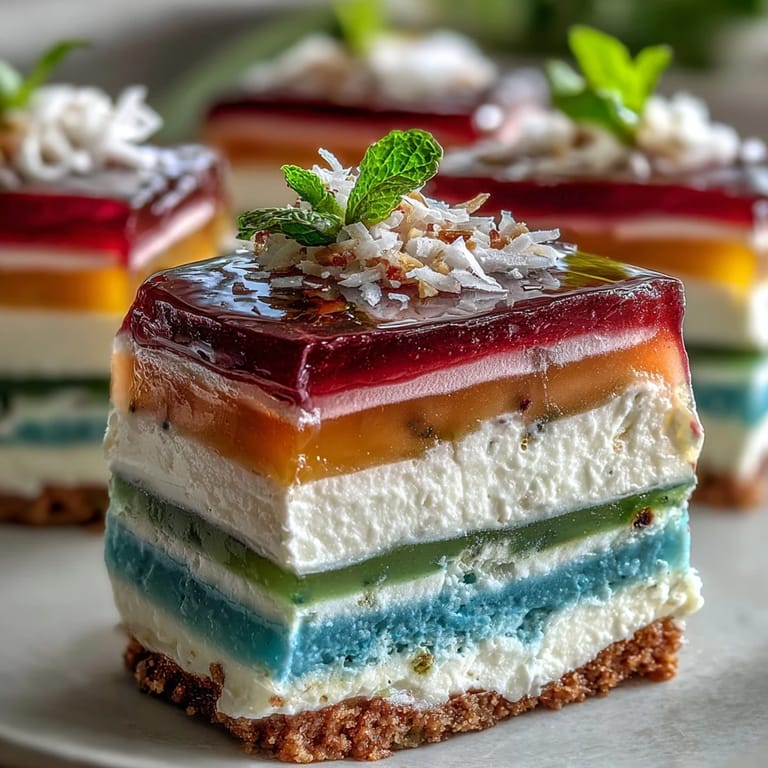
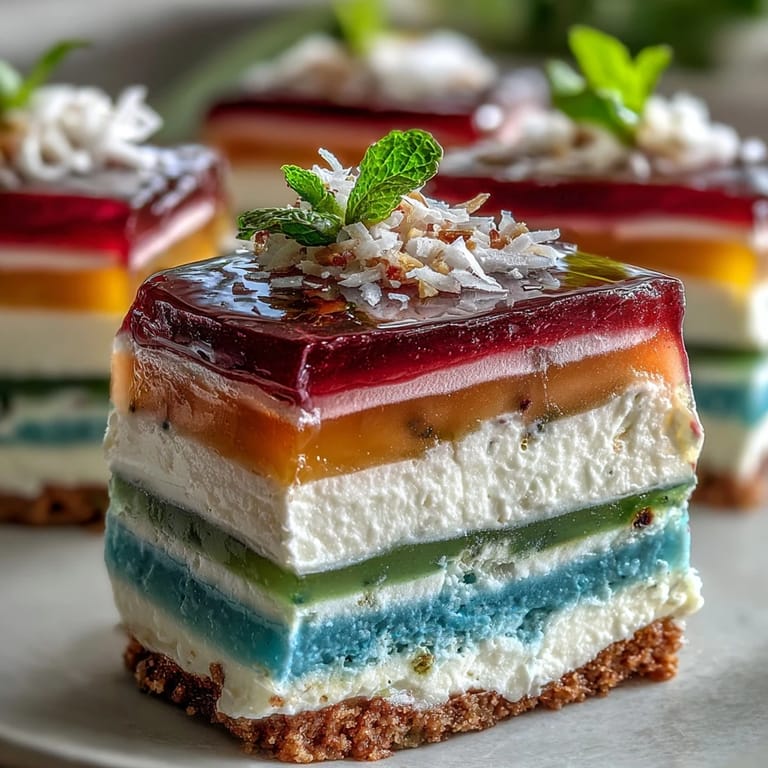
- Use silicone molds for fun shapes if you want individual servings.
- Feel free to layer in diced fruits for added texture.
- Always remember to adjust sweetness based on your fruit juices used.
 Pin it
  Pin it
 This agar-agar rainbow jelly cake is more than dessert; it’s a celebration of color and creativity that leaves a lasting impression. Bring it out at your gatherings, and watch the smiles unfold.
Recipe FAQs
- → What is agar-agar?
Agar-agar is a vegetarian gelatin substitute derived from seaweed, commonly used in Asian desserts.
- → How do you store the cake?
The cake should be stored in the refrigerator and is best enjoyed within 3-4 days.
- → Can I use different flavors for the jelly layers?
Yes, you can add different fruit juices to the agar-agar mixture for natural flavors!
- → Is this dessert suitable for children?
Absolutely! It’s a fun and colorful treat that kids love.
- → Can I make individual servings?
Yes, this dessert works beautifully in silicone molds for easy individual portions.