 Pin it
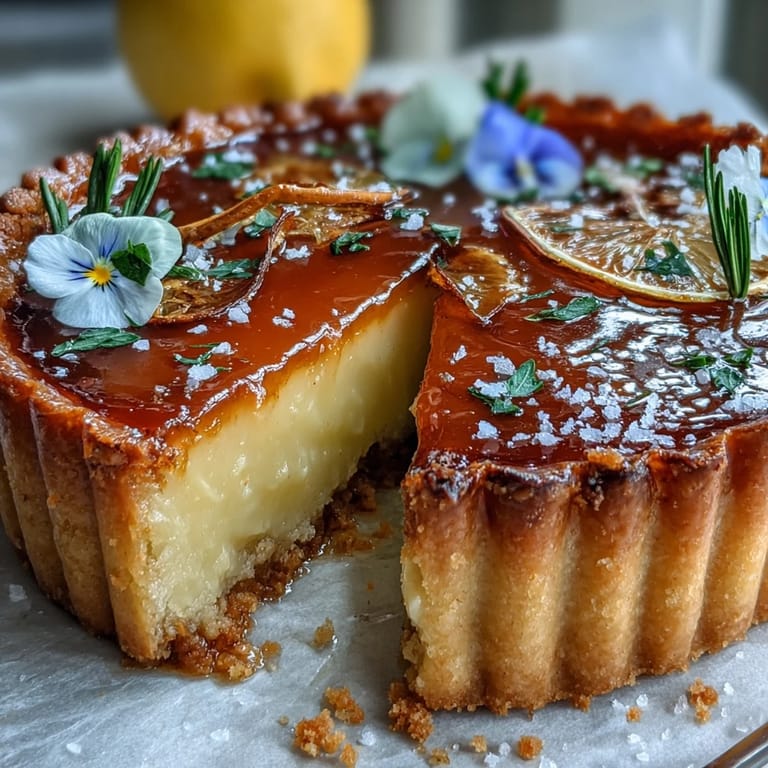
 Citrus scents spiraled through my kitchen the first time I made this Lemon Curd Spring Tart, melding with the aroma of freshly baked pastry and a hint of warm sunshine streaming in. I was drawn to the idea one blustery April afternoon: something bright, beautiful, and utterly celebratory of spring. The promise of a tart golden curd, buttery crust, and a flutter of edible flowers transformed a simple dessert into an occasion in itself. A little nervous about the delicate shell, I found myself humming along with the birds outside as I worked. Later, the finished tart seemed to sing right back at me from the countertop.
Last Mother’s Day, I set out to make this tart for an outdoor brunch, fingers sticky with zest while laughter drifted in from the garden. As I scattered a handful of flowers over the glossy curd, my niece declared it looked too pretty to eat—though that hesitation vanished as soon as we sliced in, sharing forkfuls between sips of Prosecco and stories in the sun.
Ingredients
- All-purpose flour: The base for the tart shell, a gentle sifting makes for a lighter, crispier bite—don’t skip it if you have the time.
- Unsalted butter: Cold, cubed butter is the secret to flaky pastry layers; I always chill mine an extra few minutes for good measure.
- Powdered sugar: Sifting this in lends the crust its delicate sweetness and keeps it tender rather than dense.
- Egg yolk: Just the yolk enriches the dough and adds subtle richness—I learned to separate eggs with my fingertips for less mess.
- Cold water: Add slowly; too much and the dough gets sticky, too little and it crumbles—it’s a Goldilocks moment every time.
- Salt: Just a pinch sharpens the flavors and balances the sweetness.
- Eggs (for the curd): Whisk well to keep the curd lusciously silky; it’s best to use room temperature eggs for the smoothest result.
- Granulated sugar: Brings brightness to the curd, but don’t be afraid to taste and adjust before chilling.
- Lemon zest: The oils pack so much citrusy punch—fine grating makes all the difference.
- Fresh lemon juice: Bottled juice never quite captures the zing; squeezing by hand doubles as aromatherapy.
- Butter (for the curd): Adds unbeatable silkiness; add in cubes off the heat to prevent splitting.
- Edible flowers: Not just pretty, they add a fresh, herbal note; always triple-check they’re pesticide-free.
- Fresh mint (optional): Even a single leaf elevates the look and aroma; a little goes a long way.
Tired of Takeout? 🥡
Get 10 meals you can make faster than delivery arrives. Seriously.
One email. No spam. Unsubscribe anytime.
Instructions
- Make Your Pastry:
- Pulse flour, powdered sugar, and salt in a food processor, then toss in cubes of cold butter. When the mix feels like cool sand under your fingertips, blend in egg yolk and water—just enough to let the dough cling together, then wrap and chill while you prep your filling.
- Shape and Bake the Shell:
- Roll out chilled dough on a lightly floured counter until it’s wide enough for your tart pan. Press gently into the pan, prick the base with a fork, line with parchment and weights, and bake until golden—feel free to peek, the smell will tell you when it’s ready.
- Whisk the Lemon Curd:
- Whisk eggs, sugar, zest, and juice in a saucepan, stirring non-stop with purpose so it thickens smoothly. Once it coats the back of a spoon, whisk in cold butter until glossy, then push it through a fine sieve for satiny results.
- Fill and Chill:
- Spoon the lemon curd into your cooled tart shell, smoothing it out to the very edges. Slide the tart into the fridge and give it at least an hour to firm up—it’s worth the wait.
- Adorn and Serve:
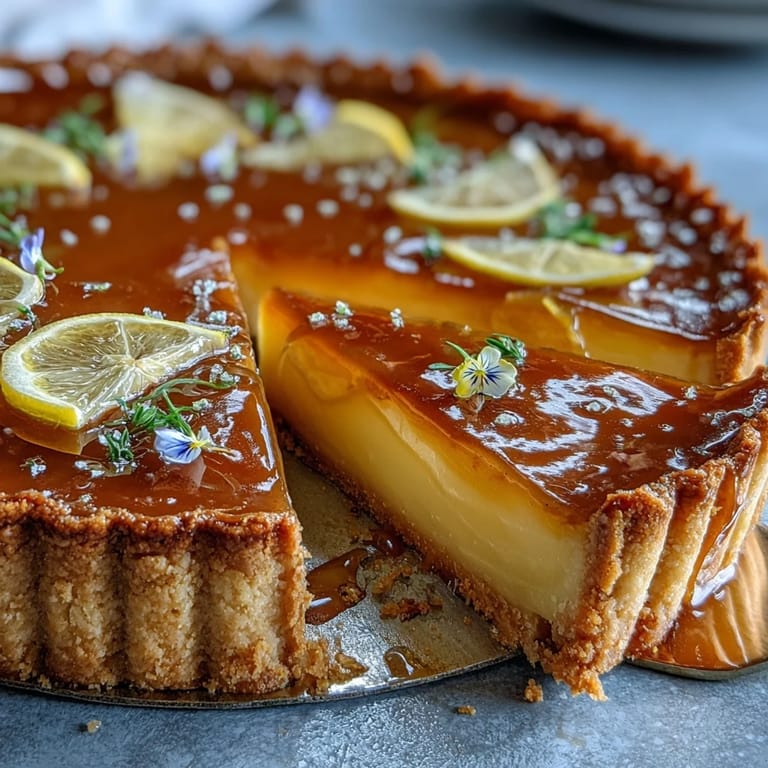
- Scatter edible flowers and mint leaves just before serving, then slice and listen for the chorus of admiration as you present it.
 Pin it
  Pin it
 The tart had just set, the last ray of afternoon light kissing its golden surface, when my neighbor stopped by with her toddler in tow. Watching them marvel at the edible flowers and dabbing little fingers in the curd, I realized this dessert sparks more smiles than any other treat on my menu.
Perfecting the Pastry: Little Tricks
It took me a few tries to learn that dough loves to be handled gently and quickly—warm hands can toughen things up faster than you’d guess. Using the heel of your hand to gently smear the dough on the counter (the fraisage method) gave me that wonderfully crisp bite. And chilling—even if it feels like a drag—keeps the crust from slumping or shrinking, so each slice looks bakery-worthy. Don't panic if it cracks slightly; a patch with leftover dough does wonders. Rolling between two sheets of parchment also makes transfer and cleanup so much easier.
Your Lemon Curd Lifesaver Tips
Curd can feel like a science experiment, but low heat and constant whisking are your best allies. I once let the mixture boil for even a moment and was left with a sweet omelet—now I hover and keep the heat on the gentle side. The scent of the zest brightening the pot will let you know you're on the right track. If you’re worried about lumps, straining is pure magic and removes any hesitation. And, if making ahead, lay plastic wrap directly on the surface of the curd to keep it glossy and prevent skin from forming.
Decorating Your Masterpiece (and Serving)
Assembly is where the tart’s personality comes alive, and I love letting kids help arrange the flowers for an artful look. Choose the freshest blooms you can find, and press them lightly onto the chilled curd—no two tarts look the same. Slices release from the pan more cleanly if you warm the bottom for a second with a kitchen towel. For extra flair, drizzle a touch of honey over the tart just before serving.
- If you can prep the curd the day before, do—it thickens and flavors meld.
- Have your flowers washed and dried ahead of time.
- Cut with a gentle sawing motion and wipe the knife between slices for clean edges.
 Pin it
 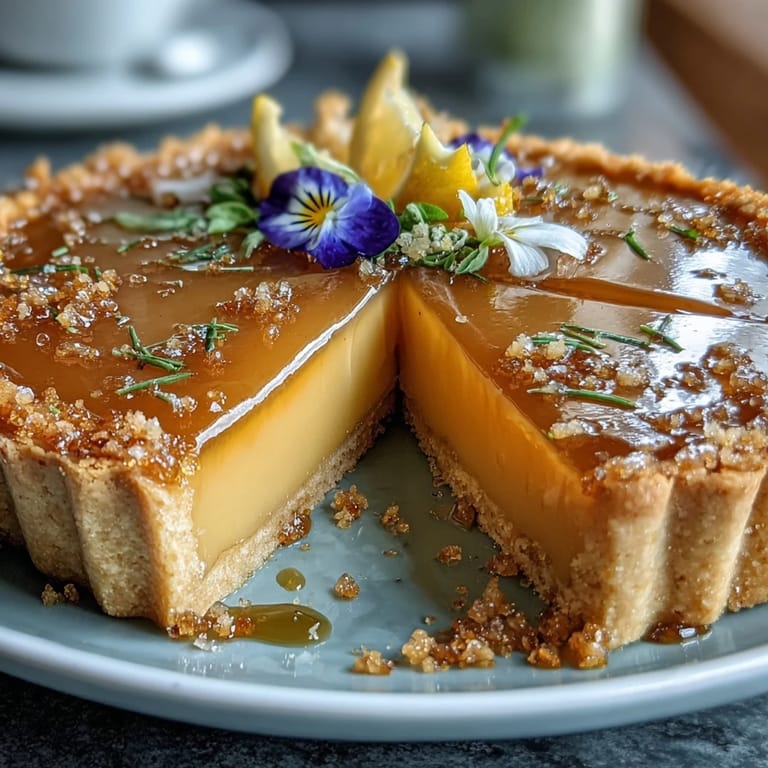 Pin it
 May your spring gatherings always be brightened by the sparkle of citrus and the joy this tart brings to every table. If you find yourself with leftover slices, they’re a delight with morning tea—though they rarely last that long.
Recipe FAQs
- → How do I prevent a soggy tart shell?
Blind-bake the lined shell with weights until set and lightly golden, then remove weights and bake a bit longer to dry the base. Chill the shell before adding filling to minimize moisture transfer.
- → How can I tell when the lemon curd is done on the stove?
Cook gently over medium-low while whisking. It's ready when it thickly coats the back of a spoon and a finger drawn across the spoon leaves a clear line; avoid boiling to prevent curdling.
- → Why strain the curd through a fine sieve?
Straining removes any cooked egg bits and lemon pulp, yielding an extra-smooth, glossy curd that sets evenly in the tart shell.
- → Can I make the curd ahead of time?
Yes. Refrigerate the cooled curd in an airtight container for up to 3–4 days. Bring it toward room temperature and whisk briefly before pouring into the chilled shell to ensure smoothness.
- → How do I adapt the tart shell for gluten-free diets?
Use a gluten-free flour blend formulated for pastries, chill the dough well, and handle gently. Blind-bake carefully—gluten-free crusts may need slightly different timings to avoid crumbling.
- → Are edible flowers safe to use and how should I prepare them?
Use flowers labeled as edible or sourced from reputable suppliers. Rinse gently, pat dry, and add just before serving to preserve color and texture. Avoid flowers treated with pesticides.