 Pin it
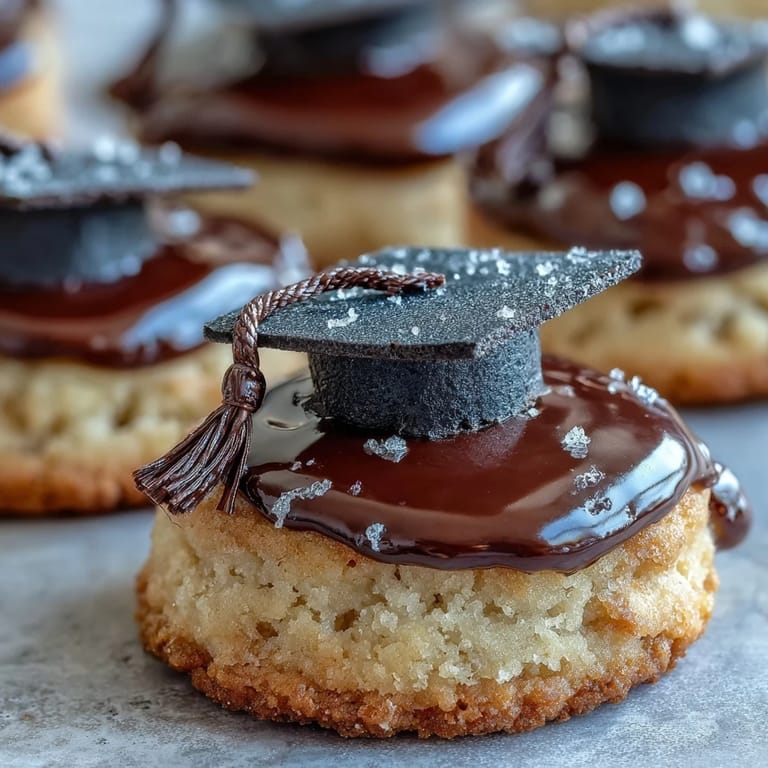
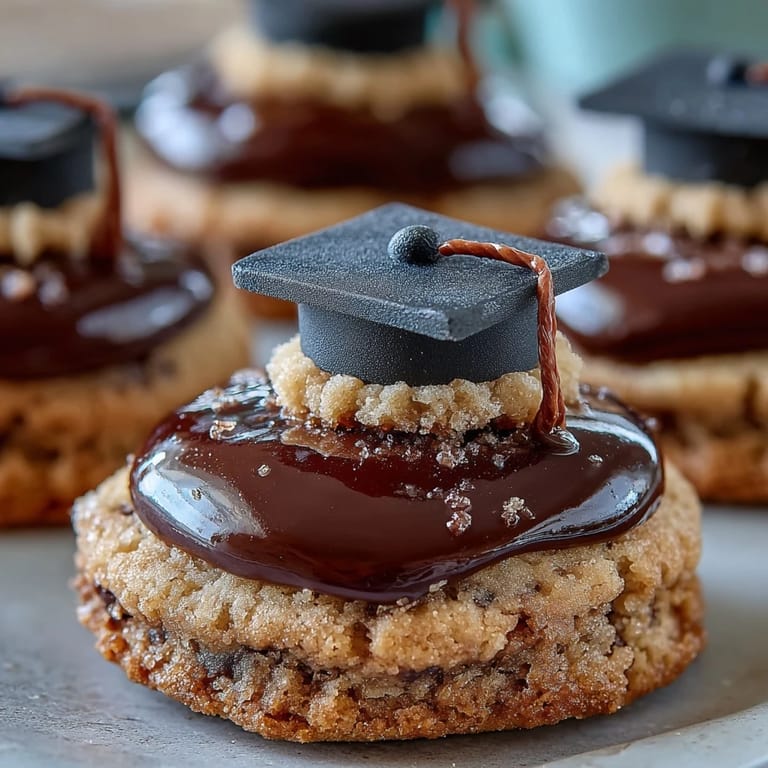
 My cousin called me in a panic two weeks before her daughter's graduation party, asking if I could make something special that screamed celebration but wouldn't require a culinary degree. We landed on these sugar cookies with fondant mortarboards, and honestly, watching her face light up when she saw the finished batch sitting on the kitchen counter was worth every minute. There's something magical about turning a simple butter cookie into a tiny academic achievement, complete with a tassel that actually looks like it belongs in a graduation ceremony. The whole process became less about the baking and more about the joy of creating something that meant something to someone.
I made a batch for a graduation open house last summer, and I'll never forget the moment when a grandmother pulled me aside to ask if she could buy extras to send to relatives across the country. Apparently, my slightly crooked tassel became a running joke in the family text chain, and now they request "the wonky yellow ones" every time there's a celebration.
Ingredients
- All-purpose flour (2 1/2 cups): The backbone of your cookies, and measuring by weight rather than cups gives you the most consistent results every single time.
- Baking powder (1/2 teaspoon): Just enough lift to make these cookies tender without making them cake-like, which is the sweet spot we're aiming for.
- Salt (1/2 teaspoon): This tiny amount makes everything taste better by balancing the sweetness and bringing out the vanilla flavor.
- Unsalted butter (1 cup, softened): Room temperature butter creams properly with sugar, so take it out about 30 minutes before you start mixing.
- Granulated sugar (1 cup): The creaming process with butter creates air pockets that make cookies tender, so don't skip this step.
- Large egg (1): Brings the dough together and acts as a binder, so make sure it's at room temperature too.
- Pure vanilla extract (2 teaspoons): Use the real stuff here because the flavor actually matters in a simple cookie like this.
- Black fondant (8 oz): This is your mortarboard, and black looks sharp and professional, but you can absolutely tint it to match school colors if you want.
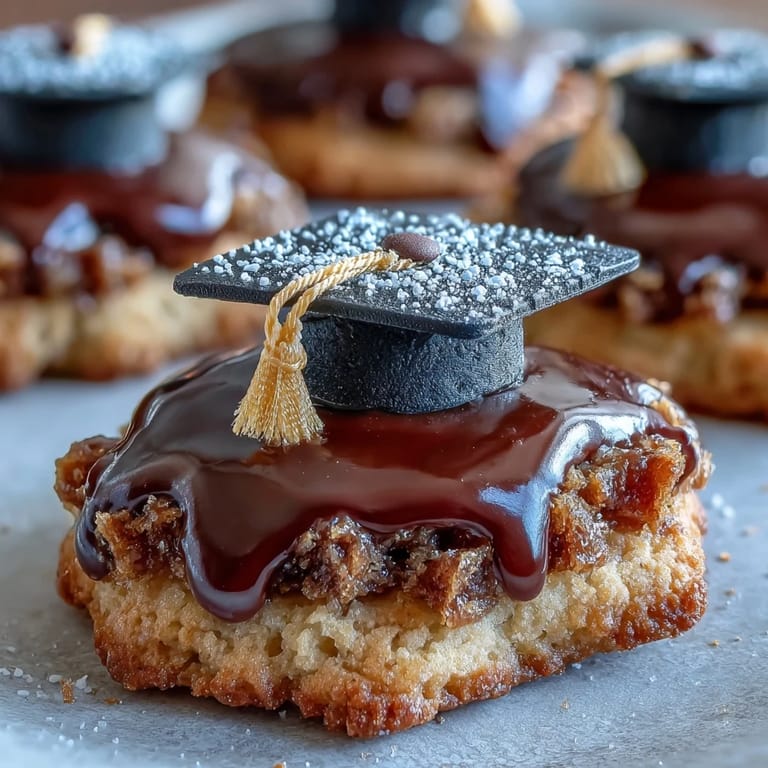
- Yellow fondant (1 oz): Just enough for the tassels, and this small amount goes a long way when rolled thin.
- Cornstarch: Your secret weapon for keeping fondant from sticking to everything without adding flour flavor to your decorations.
- Powdered sugar (1 cup): Mixed with milk and vanilla, this becomes your edible glue that holds all the fondant pieces together.
- Milk (1 to 2 tablespoons): Start with 1 tablespoon and add more if your icing needs to be thinner; consistency is everything here.
Tired of Takeout? 🥡
Get 10 meals you can make faster than delivery arrives. Seriously.
One email. No spam. Unsubscribe anytime.
Instructions
- Prep your oven and station:
- Get your oven heating to 350°F and line those baking sheets with parchment paper while you gather your tools. This five-minute setup saves you from scrambling once your dough is ready.
- Mix your dry ingredients:
- In a medium bowl, whisk together the flour, baking powder, and salt, making sure everything is evenly distributed. This prevents any surprise pockets of baking powder in your finished cookies.
- Cream butter and sugar:
- This is where the magic starts—beat softened butter with granulated sugar for about 2 to 3 minutes until the mixture looks pale and fluffy, almost like a cloud. You'll know you've done it right when the mixture has doubled in volume and looks lighter in color.
- Add your wet ingredients:
- Drop in the egg and vanilla extract and beat until everything is combined and smooth. Don't worry if it looks a bit separated at first; keep mixing and it'll come together.
- Bring it together gently:
- Add your dry mixture to the wet ingredients in a few batches, stirring just until everything is incorporated. Overmixing at this stage makes tough cookies, so stop as soon as you don't see any white streaks of flour.
- Roll and cut:
- Dust your work surface lightly with flour and roll the dough out to 1/4-inch thickness, then cut into 2 1/2-inch rounds or squares using your favorite cookie cutters. The shapes don't have to be perfect because the fondant will cover any imperfections anyway.
- Bake until golden:
- Place cookies on your prepared baking sheets and bake for 10 to 12 minutes, watching until the edges just start turning golden. They'll look slightly underdone in the center, which is exactly right because they continue cooking on the hot pan.
- Cool completely:
- Let the cookies cool on the baking sheet for about 2 minutes, then transfer to a wire rack to cool all the way down. Decorating warm cookies is a disaster, so patience here is your friend.
- Shape your fondant mortarboards:
- While cookies cool, roll black fondant to 1/8-inch thickness and cut out 24 small squares (about 1 1/4-inches each) for the mortarboard tops. Roll 24 small cylinders about 1/2-inch long for the base, dusting with cornstarch so nothing sticks to your hands.
- Create the tassels:
- Roll yellow fondant into thin ropes and cut into 1-inch pieces, then shape them however you like. These don't need to be identical because real tassels aren't perfect either.
- Make your decorating icing:
- Whisk together powdered sugar, vanilla, and milk until you have a smooth, spreadable consistency that's thick enough to hold the fondant in place. If it's too thick, add milk a few drops at a time.
- Decorate with confidence:
- Use a small dab of icing to attach a fondant square to the center of each cookie, then place a fondant cylinder underneath as the base. Finish with a tiny touch of icing to secure the yellow tassel to one corner, and step back to admire your work.
- Let everything set:
- Give your decorated cookies 20 to 30 minutes for the icing to firm up before serving or packaging. This prevents smudges and makes them easier to handle.
 Pin it
 There was this moment while decorating my second batch when my seven-year-old nephew wandered into the kitchen and asked if the cookies were "learning about being fancy." I've never thought about it that way until then, but these cookies really do feel like they're celebrating something bigger than just sugar and butter—they're holding a tiny piece of someone's achievement.
Why Fondant Works Here
Fondant intimidates a lot of home bakers, but honestly, it's one of the most forgiving decorating mediums out there because even slightly imperfect shapes still look intentional and charming. Once you realize that a mortarboard doesn't have to be laser-cut perfect to look like a mortarboard, the whole decorating process becomes genuinely fun instead of stressful. I've learned that fondant prefers cooler hands and a light cornstarch dusting, and with those two things, you're basically unstoppable.
Customizing for Your Graduate
The beauty of this recipe is that you can absolutely make these cookies feel personal to whoever you're celebrating by tinting the fondant to match school colors or even adding tiny details like school initials on the mortarboard. I once made a batch where the tassel was in the graduate's favorite color instead of traditional yellow, and the personal touch made all the difference in how much that batch meant to the family. These small customizations take maybe two extra minutes but they transform the cookies from generic celebration treats into something that feels handmade and thoughtful.
Storage and Gifting Secrets
These cookies actually keep beautifully in an airtight container for up to five days, which means you can make them a day or two ahead without any stress or quality loss. If you're gifting them, stack them between pieces of parchment paper and seal them in a pretty box, and they'll arrive looking exactly as perfect as they left your kitchen. Here are the final things that actually matter when it comes to keeping these beautiful:
- Store in an airtight container away from humidity because fondant hates moisture and will start to weep and get sticky if the air is damp.
- Keep them at room temperature rather than the fridge, which can actually make the fondant crack when it gets too cold.
- If you're mailing them, add a note asking the recipient to open the box right away so the fondant doesn't sweat from being sealed in during travel.
 Pin it
 These cookies have a way of turning graduation celebrations into something extra special, and honestly, the memory of making them often outlasts the taste of eating them. That's the real magic here—not just the cookies themselves, but the moment you created something meaningful for someone you care about.
Recipe FAQs
- → What flour is best for these cookies?
All-purpose flour provides the right texture and structure, ensuring a perfect balance between softness and sturdiness.
- → How do I work with fondant for decorations?
Roll fondant thinly on a cornstarch-dusted surface to prevent sticking, then cut into mortarboard shapes and small cylinders for bases.
- → Can these cookies be stored?
Store in an airtight container at room temperature for up to five days to maintain freshness and softness.
- → How do I make the icing for assembling decorations?
Mix powdered sugar with a small amount of milk and vanilla extract until smooth, creating a sticky but gentle adhesive.
- → Are substitutions possible for dietary preferences?
Yes, gluten-free flour, dairy-free butter, or egg replacers can be used to accommodate allergies or preferences.