 Pin it
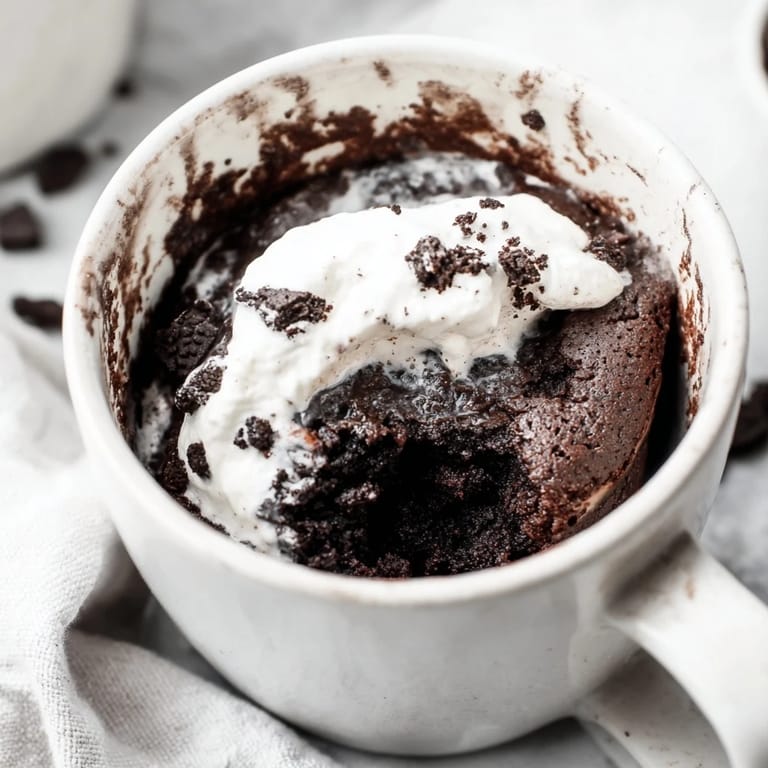
 Late one night, I had a craving for something sweet but zero patience for actual baking. My kitchen was dark, my will to wait was nonexistent, and then I remembered: Oreos and a mug. Three minutes later, I was eating warm chocolate cake straight from the vessel it was born in, and something about that ridiculous simplicity felt like I'd discovered a secret. Now whenever that 11 PM sugar moment hits, this is my answer.
My roommate once caught me making this at 2 AM on a Tuesday before a presentation. She stood in the doorway watching me crack an egg into a mug and asked if I was okay. I wasn't, but the cake was, and somehow that mattered. We split it, sat on the kitchen counter, and I passed the presentation anyway. The cake had nothing to do with that, but I'll always remember it did.
Ingredients
- Oreo cookies: These are your flour, your leavening, and your flavor all at once, which is why you don't need vanilla if you don't want it.
- Milk: This should soften the cookies into paste without making the batter too thin, so start conservative and add more only if needed.
- All-purpose flour: Just enough structure to prevent soup, not so much that you lose that fudgy center.
- Granulated sugar: Totally optional since the cookies bring sweetness already, but I add it when I want the cake to feel less like a dare and more like a choice.
- Baking powder: A tiny lift, just enough to keep things from being dense as a hockey puck.
- Egg: Binds everything and adds richness; room temperature is nicer but cold works too.
- Vanilla extract: A whisper if you use it, completely unnecessary if you don't.
Tired of Takeout? 🥡
Get 10 meals you can make faster than delivery arrives. Seriously.
One email. No spam. Unsubscribe anytime.
Instructions
- Crush the Oreos in the mug:
- Place four Oreos in a microwave-safe mug and go at them with a fork until they're fine crumbs. You'll hear them crack and feel the resistance fade as they break down, and that's the moment you know you're actually doing this.
- Soak into paste:
- Pour in three tablespoons of milk and stir until the crumbs absorb the liquid and form something between a paste and porridge. This step takes patience because rushing it means dry bits floating in your batter.
- Add the dry ingredients:
- Sprinkle in the flour, sugar if you're using it, and baking powder, then stir until everything disappears into the mixture. No lumps or dry streaks left behind.
- Crack in the egg:
- Add one small egg and the vanilla if you want it, then mix until the batter is smooth and uniform. This is when it stops looking like a science experiment and starts looking like something edible.
- Microwave until set:
- Microwave the mug on high for one minute and thirty seconds. The top should look almost set but still slightly soft when you glance at it, and the edges will pull slightly away from the mug.
- Cool and eat:
- Wait one to two minutes because it's hotter than you think it is. Then eat it straight from the mug like you have no manners, because you don't need any.
 Pin it
 What started as a late-night survival tactic became the thing my friends ask for when they want something small and sweet but have no kitchen space or equipment. I've made this in dorm rooms, offices, and once in a hostel in another country using their communal microwave at 6 AM. It's never disappointing, which is more than I can say for most five-minute foods.
Timing and Texture
The microwave time matters more than you'd think because every microwave cooks differently. One minute thirty is a starting point, not a guarantee. If your cake comes out looking too wet on top, give it ten to twenty extra seconds, but stop before it's completely firm or you'll lose the fudgy quality that makes this worth doing. The beauty of making one mug at a time is that you can adjust as you go, learning your microwave's personality.
Customizations That Actually Work
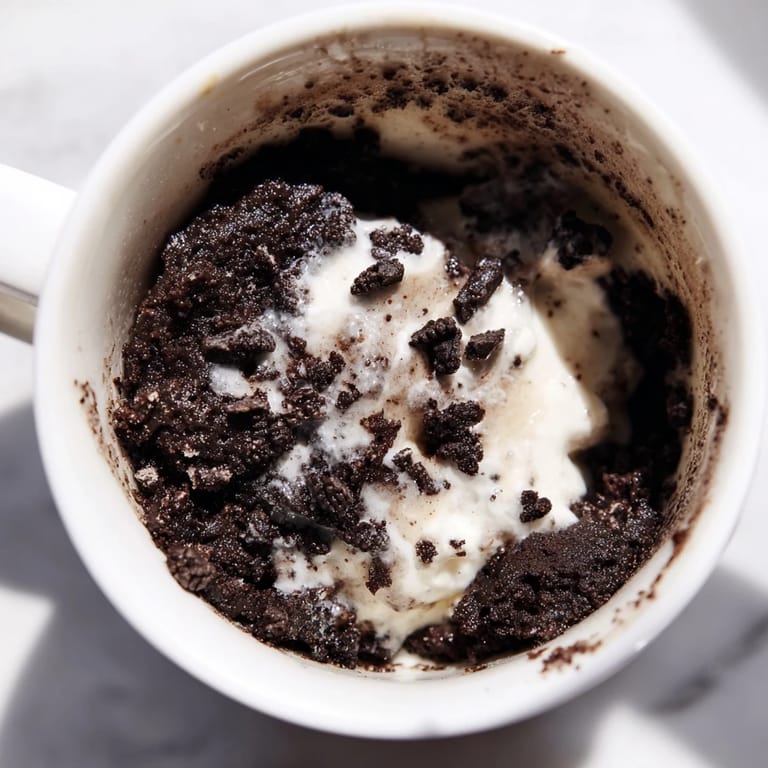
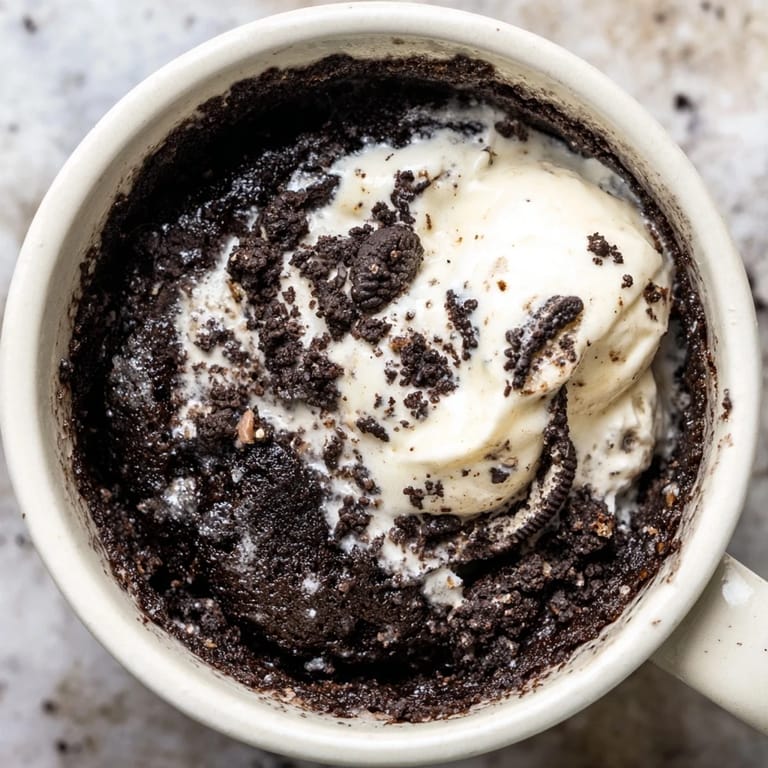
The base recipe is so simple that it invites tinkering. Whipped cream on top is never wrong, chocolate chips can be stirred in before microwaving if you want pockets of melted chocolate, and vanilla ice cream melting into warm cake is a cliché for reasons. Some people use self-rising flour instead of the flour and baking powder combination, which saves a step and works just as well. The only thing you shouldn't skip is actually checking the cake before eating it, unless you enjoy burning your mouth on superheated chocolate.
The Philosophy of Mug Cakes
Mug cakes exist in that strange space between desperation and indulgence. They're not supposed to be dignified, and somehow that makes them feel more honest than a layered cake you spent hours on. This one tastes like instant gratification because it is, but it also tastes genuinely good, which defeats the whole point of it being a shortcut. You eat it expecting disappointment and instead get something that reminds you why cake matters.
- If you're adjusting ingredients, remember that Oreos already contain flour and sugar, so don't add too much or the texture shifts.
- A microwave-safe mug that's at least twelve ounces keeps the batter from erupting everywhere during cooking.
- This is better eaten warm, the same day, because leftover mug cake has the texture of a sponge the next morning.
 Pin it
 This cake exists for moments when you want something good but don't have the energy for the performance of baking. It proves that shortcuts and real desserts aren't opposites, and sometimes the best things in life are made in a mug.
Recipe FAQs
- → Can I use any type of milk?
Yes, whole, skim, or plant-based milks work well to soak the crushed cookies and bind the batter.
- → How do I know when the cake is done?
The cake should be set but still moist. A gentle poke will show a springy texture without wet batter.
- → Can I add extra sweetness?
Yes, a tablespoon of sugar can be mixed in to heighten sweetness, though Oreos are naturally sweet.
- → What toppings complement this dessert?
Whipped cream, chocolate chips, or a scoop of vanilla ice cream enhance the richness and flavor.
- → Is the mug cake suitable for vegetarians?
Yes, the ingredients align with a vegetarian diet, containing no meat products.